Date: 2026-11-10 hits: 106
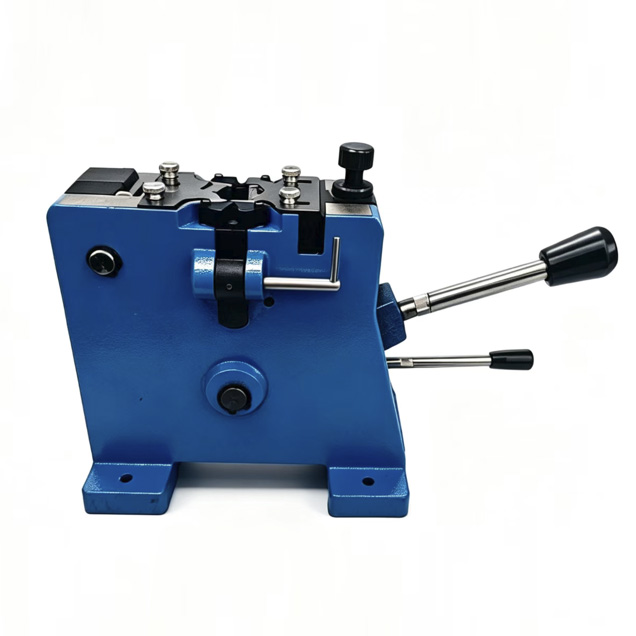
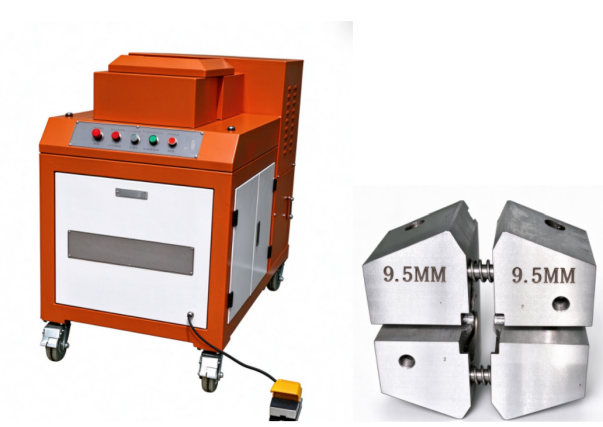
一. RSD-158 Hydraulic Foot Pedal Cold Pressure Welder
Working principle: It adopts solid-state cold pressure welding, no heating and no filler metal. The hydraulic system provides stable high pressure to squeeze non-ferrous metal wires and realize metal molecular bonding. Compared with the manual model, it features higher and more stable output pressure, suitable for large-diameter copper and aluminum wires.
二.Application Scope
Industry: Cable factories, matched with large wire drawing machines, thick conductor stranding workshop
Weldable materials: High-purity copper wire, high-purity aluminum wire and other ductile non-ferrous metals of the same type
Functions: Splicing broken wire during thick wire drawing,wire continuation for large-size stranded conductors
Advantages: Uniform and stable pressure, suitable for thick wires; foot pedal control, both hands free to hold wires, labor-saving operation, consistent joint quality
Limitations: Only same-metal butt welding is supported. It cannot weld steel, stainless steel, or realize dissimilar welding between copper and aluminum.
三. Basic Parameters
1.Model: RSD-158 Hydraulic Cold Pressure Welder
2.Driving mode: Driven by motor hydraulic system, foot pedal switch controls pressurization, pressure holding and pressure relief
3.Wire connection range: Copper φ3.0–10.0 mm; Aluminum φ3.0–15.0 mm
4.Oil pressure: 0.5–1.0 MPa
5.Working pressure: 3.8–4.0 MPa
6.Motor power: 2.2 kW
7.Rated voltage: AC380V / 50Hz (3-phase)
8.Hydraulic oil: 46# anti-wear hydraulic oil
9.Net weight: 800 kg
10.Overall dimension (L × W × H): 750×110×1200 mm
11.Control mode: Foot pedal valve control
12.Applicable materials: Same kind of ductile non-ferrous metals such as pure copper, pure aluminum, silver wire, gold wire, nickel wire
四. Detailed Operation Instructions
【Pre-operation Inspection】
1.Visual inspection: No collision on the machine body, no bulging or leakage of high-pressure hydraulic hoses, the cable of foot pedal valve is intact; lock the caster brakes to place the machine stably.
2.Hydraulic oil inspection: Check the oil level sight glass, the oil level shall be between the upper and lower scales. Use 46# anti-wear hydraulic oil. Replace the oil in advance if it becomes turbid or black.
3.Electrical inspection: Confirm that the power cable and terminals are fastened, the emergency stop button can be pressed and reset normally; confirm the power supply is AC380V, 3-phase, 50Hz.
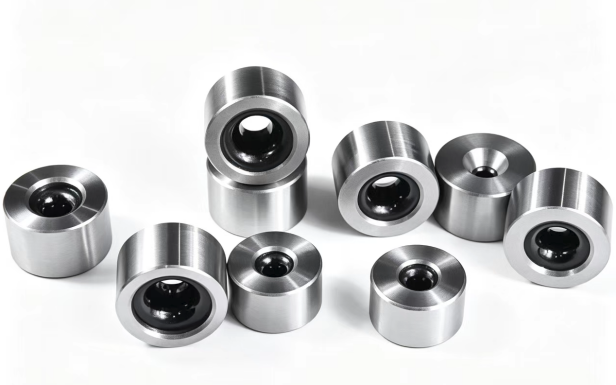
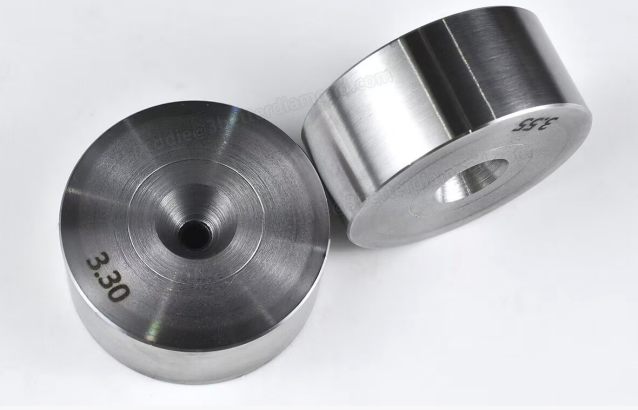
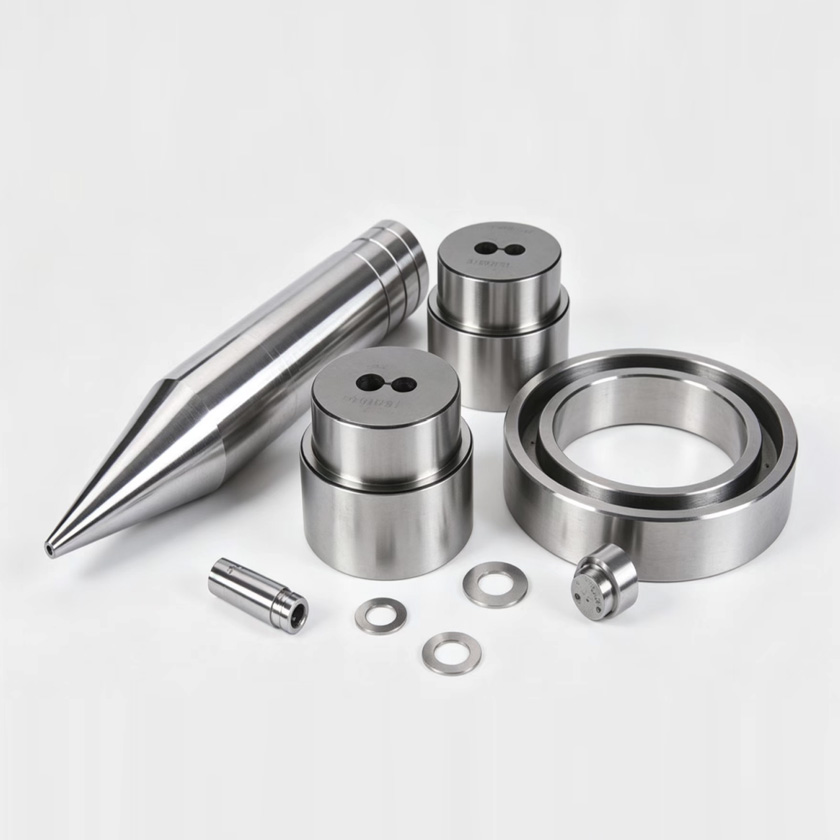
4.Die selection: Select the cold welding die of corresponding specification according to the wire diameter. Check the die cavity for wear, cracks and foreign matters; clean oil stains and metal scraps inside the cavity.
5.Gap setting: Loosen the die locking nut and adjust the limit screw. Set the die closing gap to 1/3~1/2 of the wire diameter, then lock the nut after adjustment.
【No-load Test Run after Power-on】
1.Switch on power, press the start button on the control panel, and the oil pump motor starts.
2.Step on the foot pedal under no-load condition, check whether the cylinder expansion and retraction as well as pressure gauge change are smooth; adjust the pressure to the rated 0.5-1 MPa via the relief valve.
3.Step the foot pedal for 2–3 empty strokes repeatedly to confirm no abnormal noise, oil leakage or stuck movement. Release the pedal afterwards, and the cylinder will retract automatically.
【Wire Pre-treatment (Critical for Welding Success)】
1.Cut two wires of the same specification for butt joint. They must be the same high-purity soft metal (copper to copper, aluminum to aluminum).
2.Remove oxide scale, oil stains, drawing lubricant and enamel coating on wire ends. Enameled wire must be fully de-enameled.
3.Cut the wire ends vertically with wire cutters to get flat ends without burrs or slants. Uneven or dirty ends easily cause weak joints and fracture.
4.Keep the stripped length of two wire ends consistent, so that they butt tightly at the center after feeding into the die.
【Feed Wire & Butt Alignment】
1.Pull the die opening handle to open the die cavity.
2.Feed two wires from the left and right wire inlet holes of the die respectively. Make the two wire ends butt tightly at the center of the die, without gaps or arching caused by excessive extrusion.
3.Hold the wires to keep their position and avoid shifting.
【Pressure Welding】
1.Make sure hands are away from the die closing area, step on the foot switch. The hydraulic cylinder drives the die to close and squeeze the wires.
2.Keep stepping on the pedal for 2–5 seconds (extend the holding time appropriately for thick wires). A flash of metal will extrude out from the die parting line.
3.Release the pedal, the cylinder will retract automatically after pressure relief and the die opens.
4.It is recommended to squeeze thick wires 1–2 times repeatedly to improve the bonding strength of the joint. Do not over-squeeze thin wires multiple times, otherwise the joint will become thinner and tensile strength will decrease.
【Part Removal, Trimming, and Pull-Force Sampling Inspection】
1. Open the mold cavity handle and remove the welded wire.
2. Use a file, scissors, or a grinding tool to remove the metal flash extruded from the outer ring of the joint, and grind it smooth. Do not cut into the wire body.
3. Randomly sample and perform a light pull test on each batch to check firmness. If the pull force does not meet the standard, troubleshoot in the following order: wire end cleanliness, mold clearance, mold wear, and system oil pressure.
【Welding Completion and Shutdown Procedure】
1. Once all welding work is completed, step on the foot pedal once to reset the hydraulic cylinder to its initial position.
2. Press the stop button, turn off the oil pump motor, and cut off the main power supply.
3. Remove the metal debris and aluminum-copper powder from the mold and mold cavity; clean the mold thoroughly and apply a thin layer of anti-rust oil.
4. Clean the oil stains on the machine body surface and the foot pedal valve surface, and perform equipment cleaning.
【Modifying Mold Steps】
1. Power off and release the pressure. Confirm that the hydraulic cylinder has fully returned to its original position.
2. Release the mold fixing clamps, remove the old mold; insert the new specification mold and align the positioning slots.
3. Re-adjust the mold gap, lock the nut, conduct a no-load test run once, and then resume welding.
五. Notes for Attention
1. Regularly check the hydraulic oil, keep the oil level clean to prevent oil leakage.
2. Avoid heavy pressure and stepping on hard objects when operating the foot valve to prevent damage to the foot switch.
3. Do not place your hands at the joint of the mold cavity during pressure application. The hydraulic pressure is extremely high and there is a high risk of injury.
4. The mold is a wear-prone component. Different wire diameters cannot be used interchangeably. Keep it clean and protected from bumps.
5. If the connectors frequently break, prioritize checking: the cleanliness of the wire ends, the mold gap, and the mold wear.
6. This is not an electric spark repair welding machine. It is only used for wire connection.